Pipette calibration ISO 8655:2022 – Everything you need to know
Experts unpack the latest guidelines for accurate pipette calibration and reveal why better balances are needed for compliance
13 Dec 2022
In April 2022, the ISO 8655 guidelines that apply to manual liquid handling were significantly revised, with several changes made to the calibration and testing requirements of pipettes, burettes, dilutors, dispensers, and syringes. These changes have important implications for all who work in compliance with these standards, from manufacturers and calibration laboratories to everyday users. In this article, experts from Sartorius unpack the new pipette calibration ISO 8655:2022 to highlight its main changes, outline the differences between reference and alternative calibration protocols, and reveal how purpose-built balances can help to ensure compliance.
What is ISO 8655?
ISO 8655 is an international standard for the calibration and testing of piston-operated volumetric apparatus (POVA), including pipettes, burettes, dilutors, dispensers, and manually operated precision laboratory syringes. It defines specific testing criteria including the maximum permissible error limits, the number of measurements and volumes required, testing procedures, and reporting requirements. In doing so, the standard addresses the needs of manufacturers as a basis for quality control, provides instructions for calibration and testing laboratories, and offers guidance for end users on how to properly maintain and verify the accuracy of pipettes and other equipment. The latest version of the series, ISO 8655:2022, introduces several major and minor changes, some of which are covered below.
There are now nine parts to ISO 8655
A list of all parts in the new ISO 8655 series
Part 1: Terminology, general requirements, and user recommendations
Part 2: Pipettes
Part 3: Burettes
Part 4: Dilutors
Part 5: Dispensers
Part 6: Gravimetric reference measurement procedure for the determination of volume
Part 7: Alternative measurement procedures for the determination of volume
Part 8: Photometric reference measurement procedure for the determination of volume
Part 9: Manually operated precision laboratory syringes
The revised pipette calibration ISO 8655:2022 consists of nine parts in total, which is two more than in the previous version. "The first part covers terminology, general requirements, and user recommendations,” explains Joni Åke, Product Manager at Sartorius. “Then there are five parts for different kinds of liquid transfer devices, and three parts for different testing methods, including two reference protocols (gravimetric and photometric) and a new chapter for alternative methods.”
Key updates to Part 2: Pipettes
In Part 2, the standard defines and specifies maximum permissible errors for pipettes, requirements for markings, and the information manufacturers must provide for users. “Part 2 includes air-displacement and positive displacement pipettes, multi-channel and single-channel variants,” notes Joni. “Importantly, the new ISO always combines the tip and the instrument as one system.”
Pipette tips
In the new pipette calibration ISO 8655:2022, the language concerning tips is much stricter. “It says that the tip manufacturers shall prove that the system, including their tips, fulfills the requirements and maximum permissible errors, and this must include variation in manufacturing as well,” says Joni. This means calibration results are only valid for the tip type used during the calibration, so in the case that a pipette is used with different tip types, a separate calibration must be performed with each. Moreover, to account for variation in tip manufacturing, the tip must be changed at least once per volume tested during the calibration.
In the same vein, it is now much clearer that tips are single use, meaning you can only mount the tips once. “Obviously, you can use the mounted tip for several replicates, but when you mount it and eject it, then it's done,” he continues.
For multi-channel pipette tips, there are also new maximum tolerances for how bent the tips can be, with emphasis applied to those less than 100 μL in volume. Joni believes this is due to the increasing use of smaller microplates. “This means tips, especially those used for small volumes, need to be very straight so you don't face any problems around hitting the wells,” he adds.
Maximum permissible errors
In the latest ISO revision, additional maximum permissible error limits have also been added. “In the first edition, they only gave you error limits for the nominal volume of the pipette,” says Joni. “Now, to make it easier for the user, the new revision gives limits for 100% (the nominal volume), 50%, and 10%.” This eliminates the need for the user to calculate 50% and 10% maximum permissible error limits.
For multi-channel pipettes, which were previously given twice the limit of single-channel pipettes, there is also a new, separate table of limits. “Again, it is important to note that these limits apply to the total system of pipette and tip, so if you have two different tip types and you switch from one to another, you need to recalibrate the pipette with the new tip,” he adds.
User information
ISO 8655 requires both pipette and tip manufacturers to provide a range of information to equipment users. Under the 2022 update, pipette manufacturers must now provide a list of tips that can be used with the pipette, whilst tip manufacturers must declare the manufacturer and model name of the pipette(s) for which the tips are proved to fulfill the standard’s requirements.
Testing and calibration: Part 6, Part 7, and Part 8
Calibration is the basis for reliable and reproducible pipetting results and confirms that the pipette works inside its small error limits. The new ISO 8655:2022 describes two different reference measurement procedures for calibration and testing: a gravimetric procedure (Part 6) and a photometric procedure (Part 8). While gravimetric measurement was previously known as the ‘gold standard’, it is now losing this unique position and currently, the ISO does not favor one method over the other.
Reference measurement procedures require calibrations and tests to be performed following strict environmental requirements (Table 1). “However, it is not always possible to fulfill these, especially when calibrating or testing on a customer site,” says Axel Taube, Service Product Manager at Sartorius. “Alternative measurement procedures described in Part 7 allow deviations from these requirements within defined limits, and alternative gravimetric measurements can also be performed according to Part 7 A.2.” Calibrations and tests under Part 7 can be used as a metrological confirmation if at least ten replicate measurements are performed per selected volume and the measurement procedures are validated by comparison to one of the reference procedures.
Table 1. Comparison of the requirements on environmental and testing conditions between the reference gravimetric procedure (Part 6) and alternative procedures (Part 7 and 7.A2). Part 6 Part 7 Part 7 A.2 Environmental conditions Test room temp 20 ± 3°C
To be recorded To be recorded Temp variation during test 0.5°C 0.5°C 0.5°C Water temp ± 0.5°C of ambient air temp To be recorded To be recorded Test room humidity 45% – 80% To be recorded To be recorded Air pressure To be recorded To be recorded To be recorded Test conditions Test points ≥ 3 ≥ 3 ≥ 1
Tested volumes
Nominal volume, 50%, 10% (or min) Nominal volume, 50%, 10% (or min) Can be adapted to customer requirements Measurements per point
≥ 10 ≥ 10 ≥ 4
Tip change
At least one tip change per measured volume At least one tip change per measured volume Not defined
Calibration requirements
The environmental and test requirements of the ISO 8655:2022 gravimetric procedure and alternative procedures for calibration are shown in Table 1. Under Part 6, Part 7, or Part 8 of the new ISO, a minimum of ten measurements per volume must be made for at least three volumes, including at 100%, 50%, and 10% of the nominal volume. “We call this measurement type a 10.3 calibration,” says Axel. “Other types using fewer measurement points and repetitions are only possible when performing tests or calibration under Part 7 A.2. For example, it is possible to perform a 5.3 calibration, meaning that you do only five measurements at three volumes, or a 10.2 calibration, for ten measurements at two volumes.”
Under Part 7 A.2, the volumes tested can also deviate from the normal calibration requirements to suit a user’s specific needs. The only requirement is that all points that deviate from Part 6 must be recorded and reported.
An important addition to the test conditions under Part 6, Part 7 and Part 8 of the new ISO is the requirement to change the tip at least once per measured volume. “To detect variations that result from the tip and the tip quality, at least two tips must be used per calibrated volume,” explains Axel. “For example, when performing a 10.3 calibration, six tips are needed in total, two tips per volume.”
Pipette performance specifications
During a calibration, results are compared against a performance specification, such as those defined by ISO 8655 or by a manufacturer of the equipment. Manufacturer specifications are usually tighter than ISO, meaning they sometimes cannot be reached under ISO environmental conditions. Calibration results may also be compared against performance specifications defined by a user, often to meet their specific process needs or accuracy requirements. When following the new ISO, it is still possible to test the pipette against manufacturer and customer tolerances, but these specifications need to be stricter or equal to the ISO specs for certified compliance.
The new ISO 8655 requires better balances
Balances are the most crucial equipment for the gravimetric testing or calibration of a pipette, and with the new ISO 8655, the minimum requirements for balances have also changed. “For example, a 6-place balance is now needed for pipettes up to a nominal volume of 20 μL, which means a better balance is required compared to the previous ISO between 11 and 20 μL,” explains Axel. “This is the same for a nominal volume of 200 μL. Previously, a precision balance with four places could be used, but now an analytical balance with five places is needed.”
Multi-channel balances
Another notable addition is that a multi-channel analytical balance can now be used for calibrating a multi-channel pipette of 20 μL. Crucially, the new standard also stipulates that multi-channel balances can only be used to measure the test volume delivered from all channels in parallel, with the results of each channel analyzed individually at the same time. “This means the new ISO requires a balance with several weighing cells that enables parallel measurement,” he adds. “Measuring multi-channel pipettes sequentially does not meet the requirements anymore.”

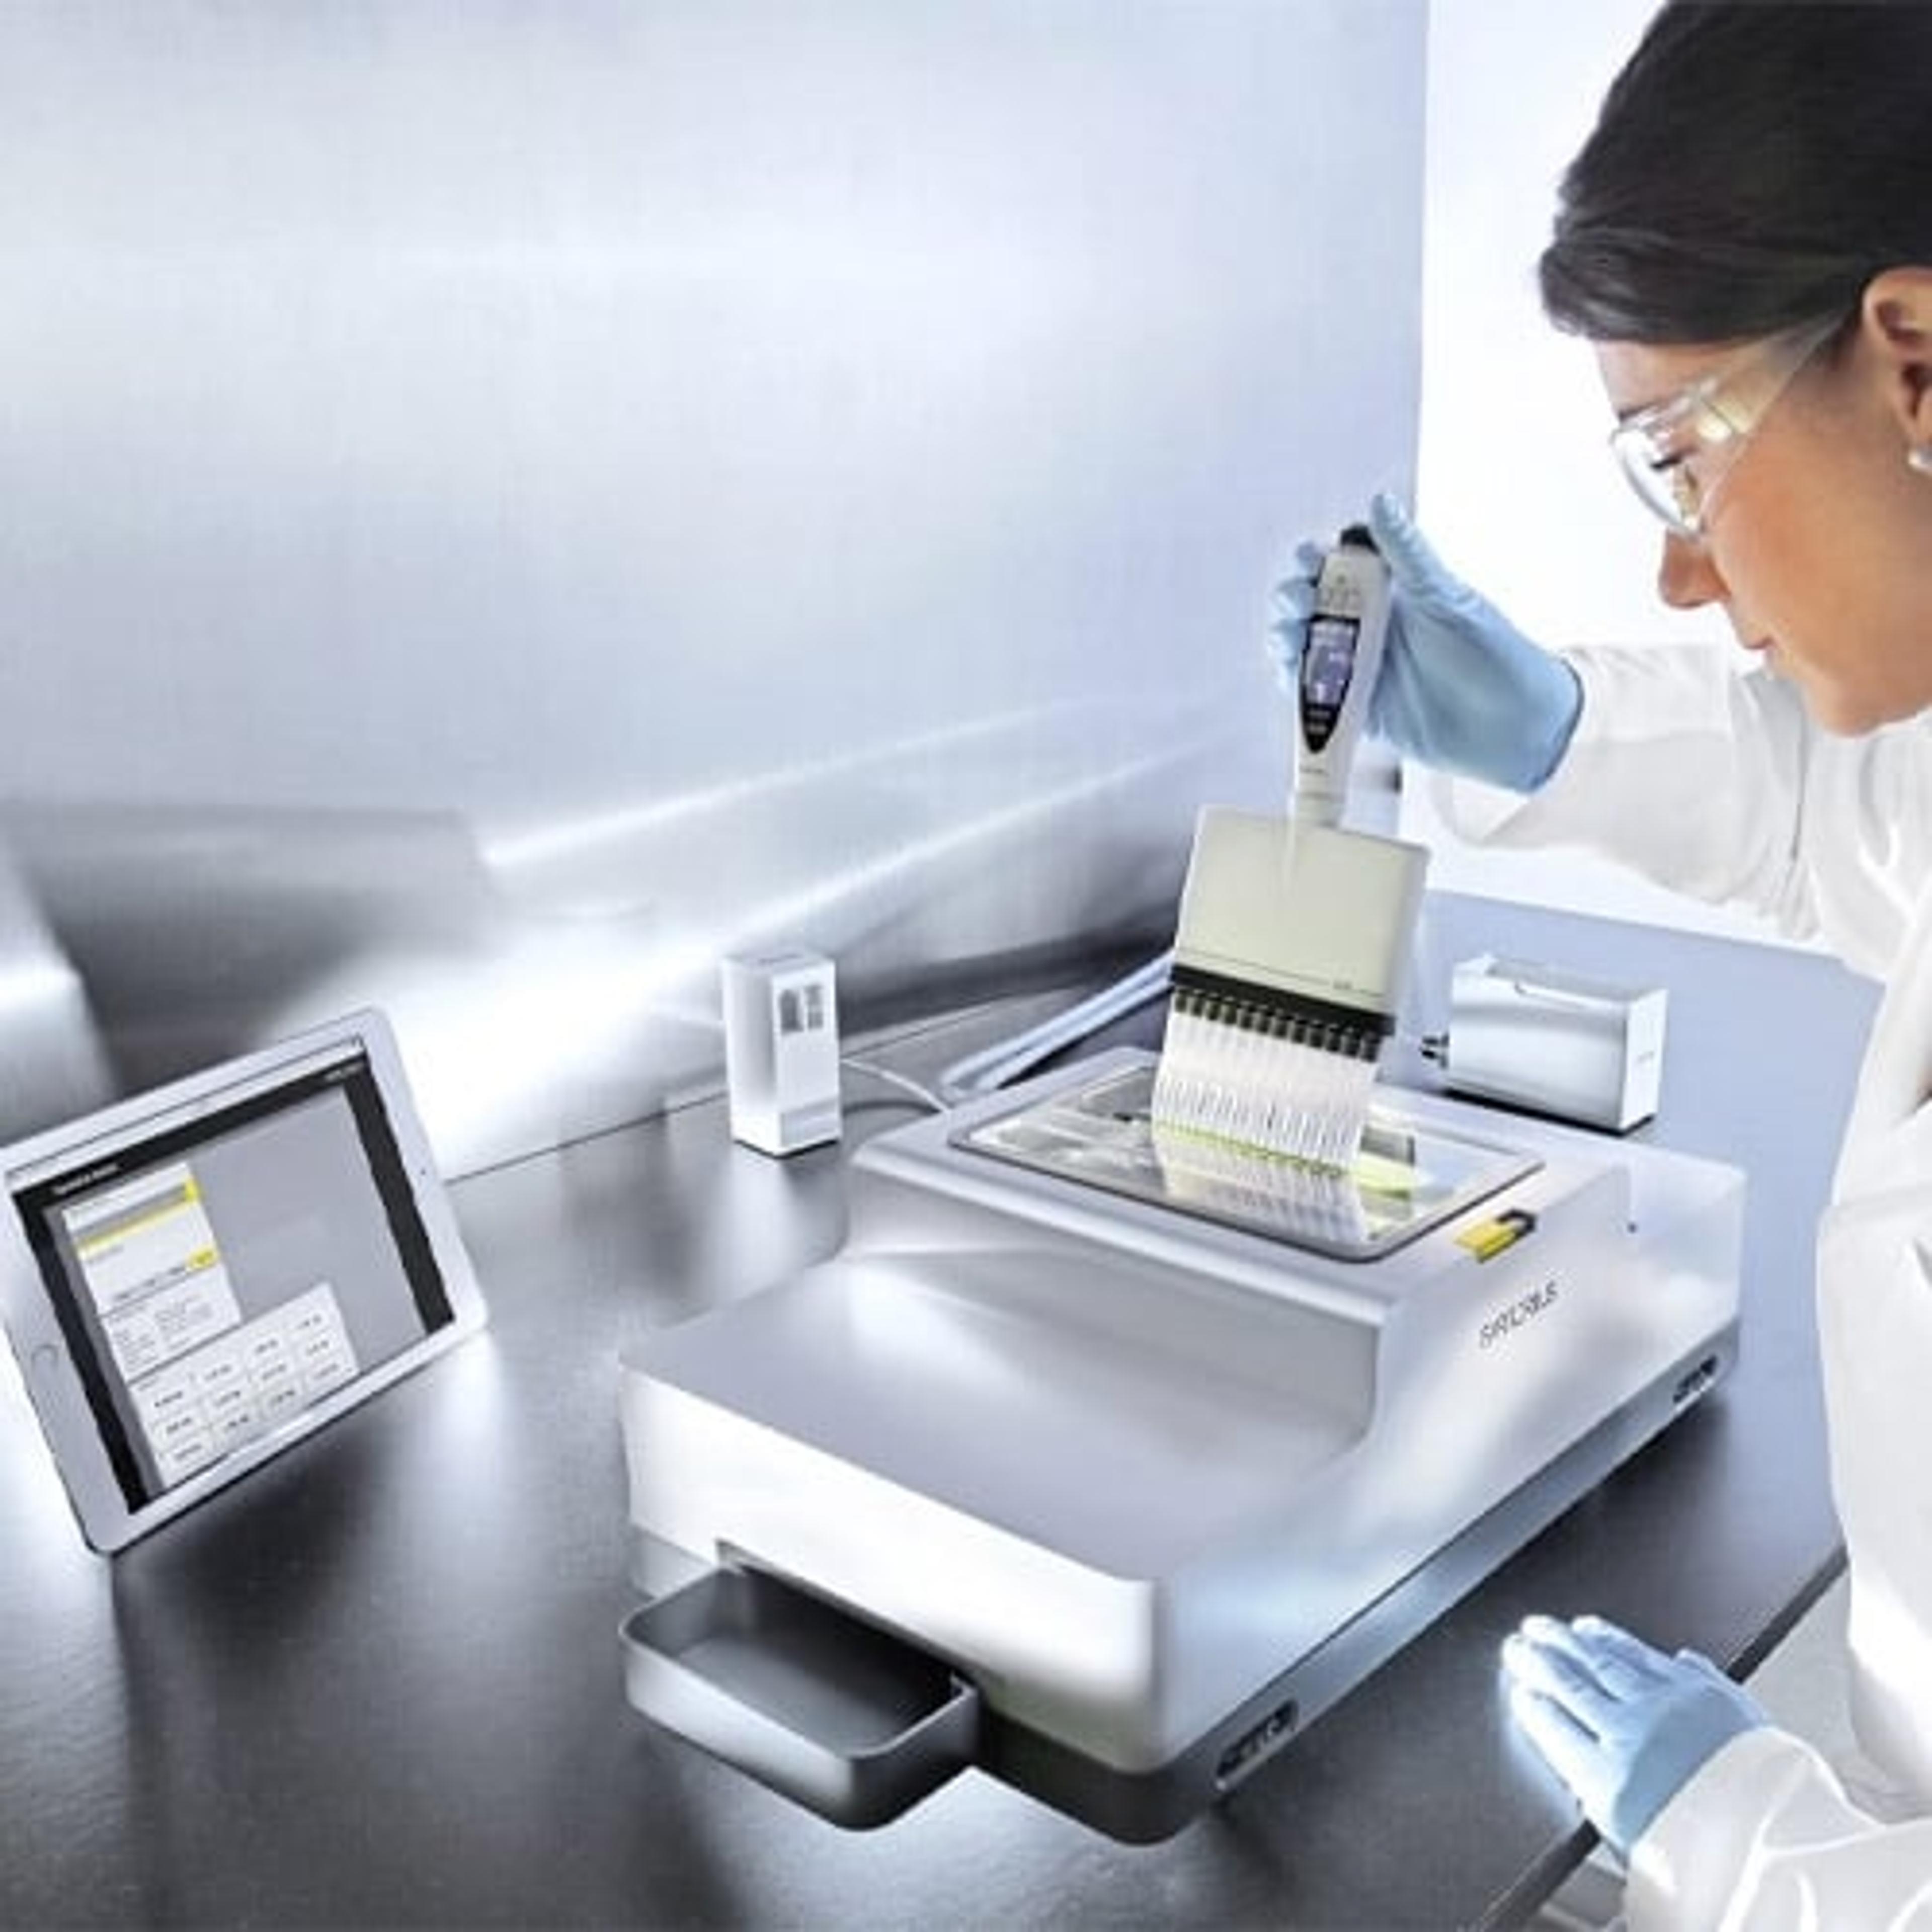
One such instrument designed to meet this need is the SpeedCal Calibration System by Sartorius, a 12-load-cell balance capable of calibrating multi-channel pipettes of up to 12 channels. Gonzalo Garreton, Senior Metrologist at CBRE, recently shared his thoughts on the SpeedCal, in a SelectScience® review. “This is the best pipette calibration device on the market,” he says. “It allows you to service your pipettes at a fraction of the time it would take using a single pan balance. For example, to calibrate a 12-channel pipette to meet ISO 8655 it would normally take you nearly 6 hours – with the SpeedCal, you are done in 15 minutes.”
“Also, the new ISO requirements mean any pipette that is 20 μL or less requires a six-place balance, so if you only have a five-place balance in your laboratory, you will be faced with the reality that you have to invest in a microbalance,” he adds. “At this point, the SpeedCal looks even more appealing.”
Want to know more about this topic?
Learn more about the revised ISO 8655 guidelines, including frequently asked questions, in our on-demand webinar >>

