Tips for pipetting critical liquids
14 Mar 2023
Pipetting critical liquids is often associated with a measure of uncertainty. Loss of material, insufficient sample yield and inaccurate results, however, can be largely avoided with the help of certain approaches and tools. In the following guide you will learn how to work with critical liquids can be more relaxed, while achieving more reliable results and saving costs at the same time.
Handling liquids that are particularly viscous, foaming, hot or cold, it will not be possible to resort to standard techniques with without loss of material, accuracy and sample material. This applies likewise to liquids exhibiting a high vapour pressure, high density or very small volumes. Consequently, many lab technicians are uncertain as to the optimal methods when pipetting critical liquids.
Avoiding costs and losses with critical liquids
The following example from laboratory work may perhaps sound familiar: An expensive kit has been opted for and before the maximum number of reactions has been used, the vessel with the expensive enzyme is already empty. In many instances, only 80-90 per cent of the total kit content is used, which is not only annoying, but also incurs high costs and unnecessary waste. To remedy this, there are some tips for the approach and the tools that will ensure greater precision and efficiency:
1. Vertical pipetting
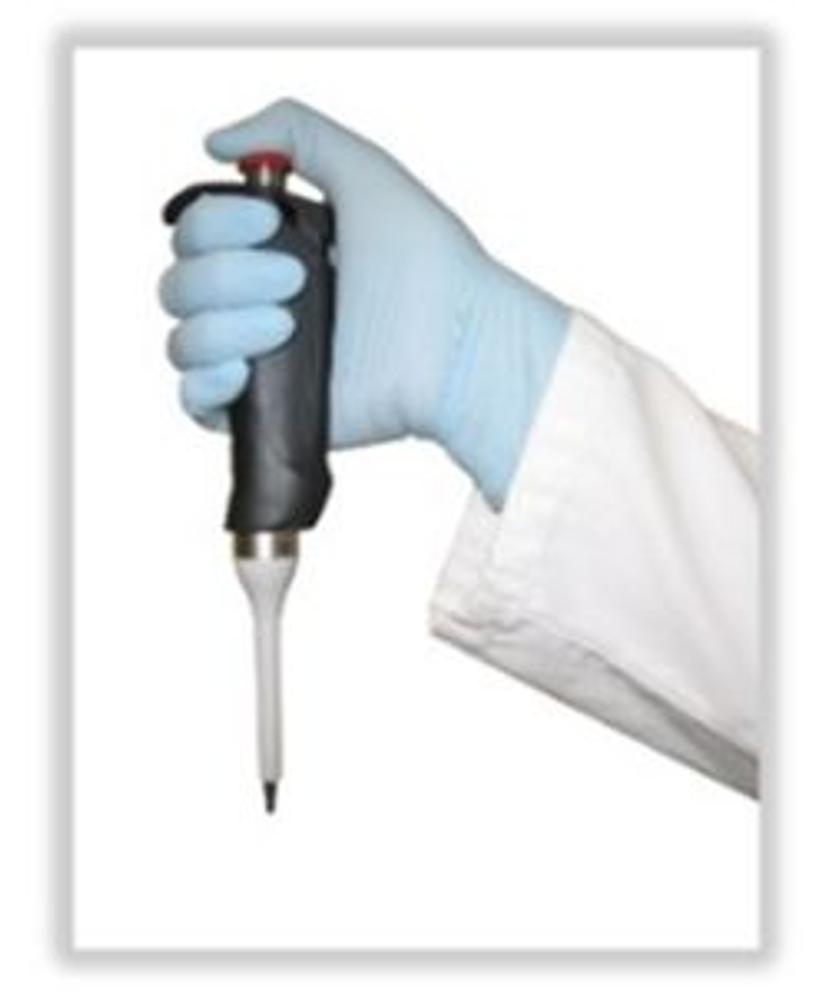
To achieve the most accurate and consistent results also when handling critical liquids, you should pipette as vertically as possible. This is because the more oblique you hold the pipette, the more variations you will get within a series of samples. Why is this the case? The hydrostatic pressure in the pipette tip changes with the angle at which the pipette is placed. This means that the more oblique you hold the pipette, the more liquid you will eject. You can hardly control this effect, however, because the variations are too small to perceive with the naked eye. Therefore, in order to ensure high precision, you should hold the pipette as vertically as possible.
2. Reverse pipetting
Unlike forward pipetting, reverse pipetting employs an overstroke to aspirate a larger volume than shown in the volume display. Therefore, after the pipetting process, a small amount of liquid remains in the pipette tip. This means that when pipetting viscous liquids, it is no longer a problem to stay within the guaranteed volume window of the volumes. This guarantee does not apply to forward pipetting.
Proceed as follows:
- Attach the pipette tip firmly.
- Press control knob 1 to the second stop.
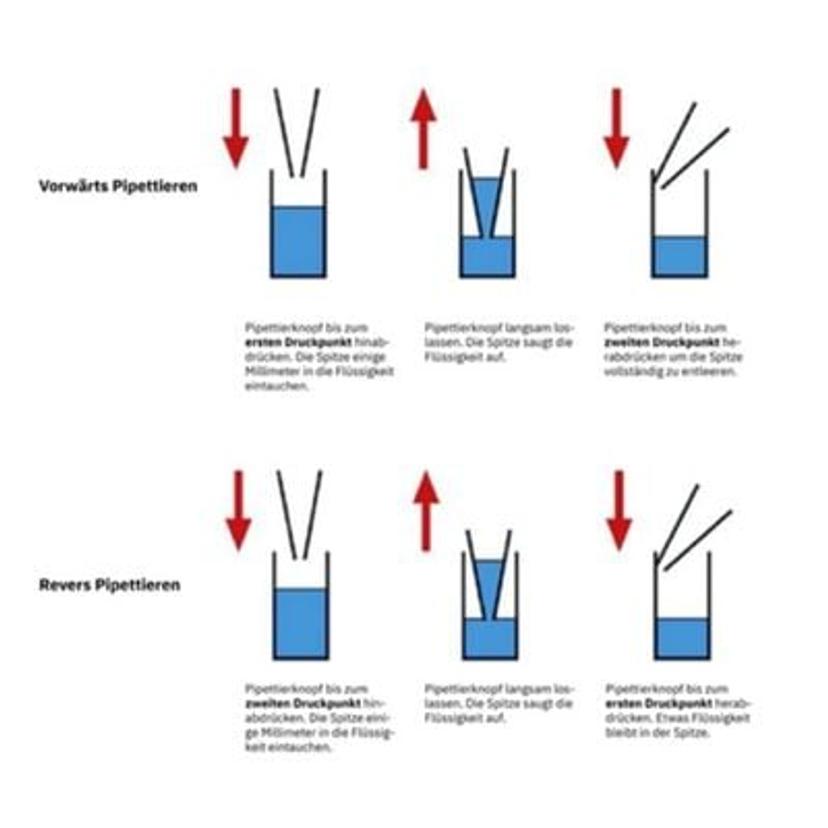
- Hold the pipette vertically and immerse the pipette tip approx. 3 mm into the liquid.
- Now let the control knob 1 slowly slide back to the starting position.
- Hold the pipette tip in the liquid for approx. 2 more seconds in order to prevent air from being sucked in.
- Remove the pipette tip from the liquid.
- Remove any droplets adhering to the outside of the tip with the fibre-free pulp. In the process, be sure to avoid touching the tip opening.
- Place the pipette tip at an angle of 30-45° to the vessel wall.
- Press control knob 1 slowly and evenly until the first stop and do not operate the blow-out function.
- Press and hold control knob 1 and remove the pipette from the vessel wall. Blow the residual liquid into a separate container.
- Slowly let the control knob 1 slide back to the starting position.
- Press the tip ejector button 2 to eject the pipette tip.
3. Opt for prior wetting and special pipette tips for greater precision and correct results.
Some liquids (such as proteinaceous solutions, organic solvents or viscous liquids) leave a liquid film on the inside of the pipette tip. Consequently, in order to achieve the highest precision and accuracy, each new tip should first be moistened with the liquid by picking it up and dispensing it two or three times.
As an alternative, some manufacturers are offering newly developed RPT (Repel Polymer Technology) pipette tips featuring special, surface-treated tips that ensure improved flow behaviour, thereby delivering a correspondingly higher sample yield. Only a small amount of liquid remains in these so-called "low-retention tips" because their surface is surface-optimised and therefore highly hydrophobic. Modern pipettes can be easily adjusted to liquids with a density that differs from water (including ethanol and chloroform, for example).
By following the above tips, you will be able to work with critical liquids in a more relaxed way in the future, while saving costs and achieving better and, above all, more reliable results for higher reproducibility.